A mitre saw can seem like one of the more intimidating power tools to get to grips with, but that's probably just down to the 3,000 RPM blade near your digits. If you've ever wanted to safely learn how to use a mitre saw - this is the guide for you!
Using a powered mitre saw is very simple and safe if you follow the operation instructions carefully. Check your instruction manual before you begin cutting. Here are a few of the most important safety precautions.
- Make sure your saw is unplugged when you’re changing the blade or not using the saw (or remove the battery from the Ryobi ONE+ model).
- Keep your fingers 15 cm away from the path of the blade
- Wear safety glasses when you’re operating the saw
- Don’t reach under the blade while it’s spinning
- Let the blade completely stop rotating at the end of every cut before lifting the blade or removing the material
1. Get to know your mitre saw
Read the instruction manual and make sure you can identify the different parts of the machine.
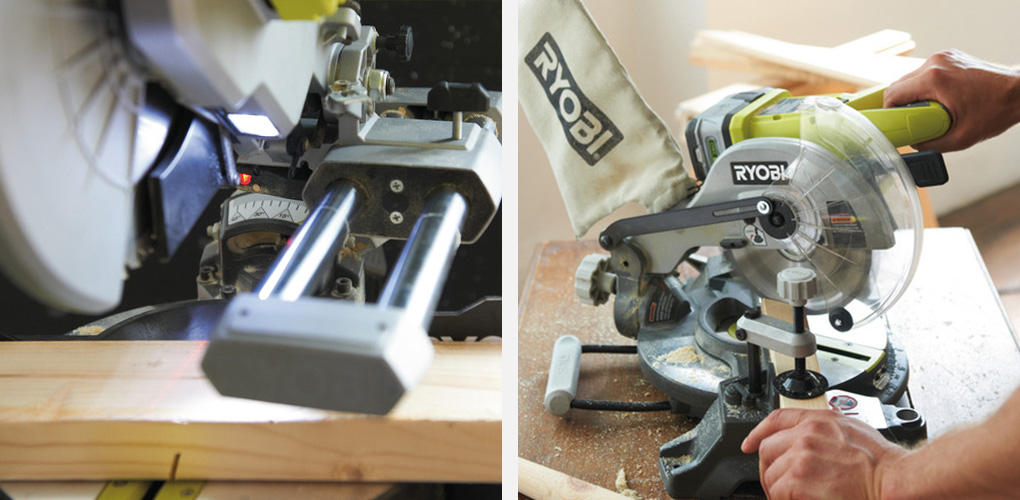
Remember: It’s important to wear safety glass when using a mitre saw. The first section of the manual will detail any specific safety requirements for that machine. Make sure you’ve found the mitre adjustment, bevel adjustment, blade guard and the power switch / trigger. If your mitre saw has a laser guide, like the Ryobi models, be aware of how to turn it on / off.
2. Get your work area and saw ready
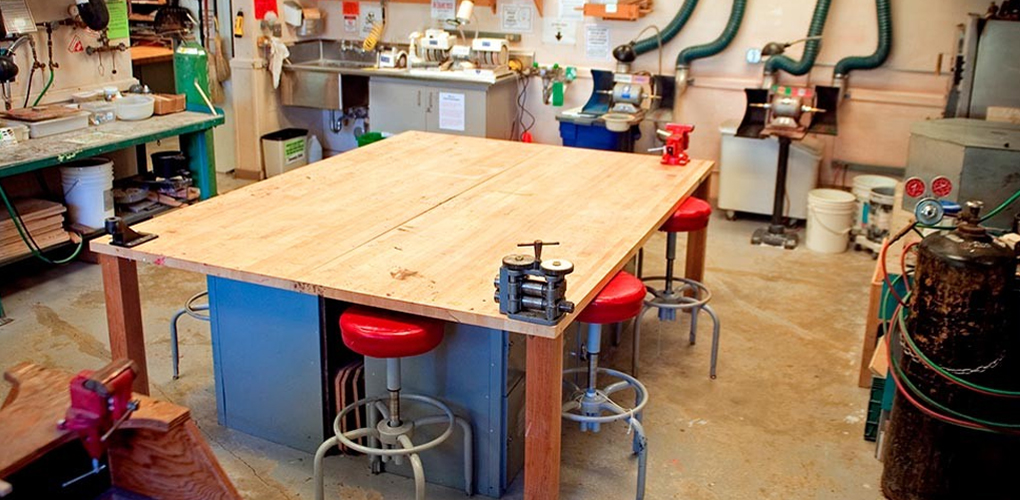
Make sure you have plenty of room for your mitre saw. The amount of space you’ll need depends on the size on materials you’re going to be cutting. You might find it easier to clamp your saw to a workbench, as this will give you maximum accuracy and security when you’re cutting.
3. Set your mitre and /or bevel angle
- If you want to make a simple cross cut, leave the mitre adjustment at 0 and the bevel adjustment at 0.
- Most mitre cuts will be at a right angle of 90°, so you’ll want both pieces of timber to be cut at a 45° angle meaning they’ll meet up perfectly.
- If you want to add a bevel to your cut, choose an angle on the bevel adjustment too.
4. Making a simple cut
- Draw a cut line down your material and line it up with the guide line of the mitre saw. If your saw has a laser guide, lining up the work piece is incredibly easy.
- Hold the material firmly against the fence / backrest of the saw, making sure all your digits are well away from the cut area (15cm / 6”) – if your saw has a clamp, use it!
- Modern mitre saws will have a trigger built into the handle, and some will also have safety release button you need to press before you can pull the trigger. Start the saw and wait for the blade to reach maximum speed (a few seconds).
- Slowly bring it down on to the work piece letting the saw do all of the work.
- Gently guide the blade through the wood – you shouldn’t have to press down hard at all.
- Once the cut is done, release the trigger and wait for the blade to stop rotating before bringing the saw back up and out of the wood. Never reach under the saw while the blade is still rotating.
5. Making a sliding cut
The process is exactly the same as making a simple cut, with a few notable differences:
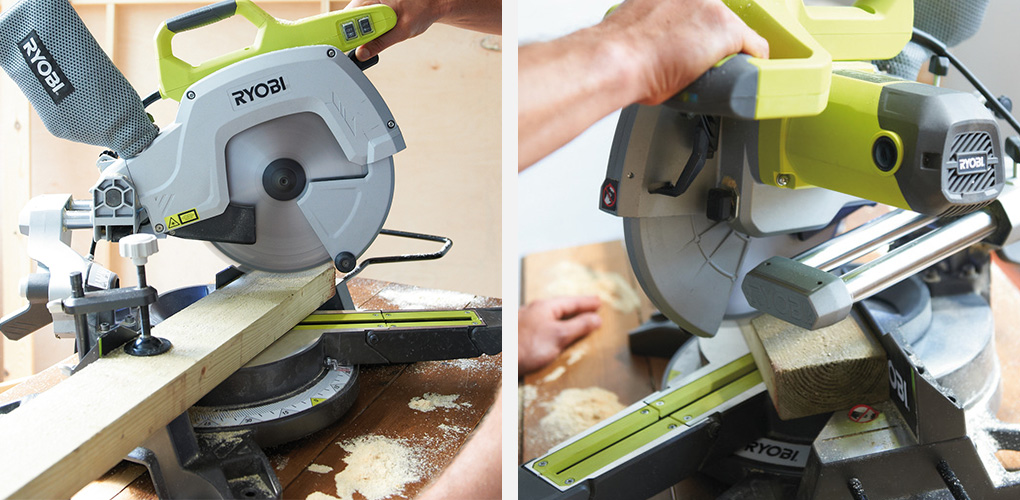
- Before you start the blade, pull the saw towards you until the blade is over the edge of base closest to you.
- Squeeze the trigger and start the saw. Wait until the blade is at full rotational speed.
- Pull the saw down into your material and begin the cut.
- While the blade is running push the saw away and back from you to cut the rest of the material.
- When the cut is complete release the trigger and allow the blade to stop rotating.
- Bring the saw back up out of the wood. Never reach under a rotating saw!
Hopefully this has answered the issue of what mitre saw do I need and you’ll be framing, cutting and moulding accurately with the right tools in no time.
Still need help?
Our in house experts are always on hand for buying advice and to provide bespoke care, regardless of the application.
Call SGS on 01332 576 850 or fill out our contact form today.


