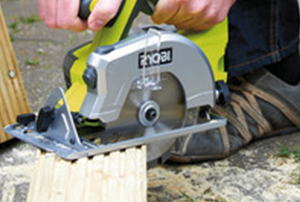
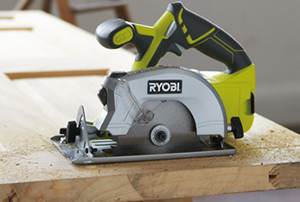
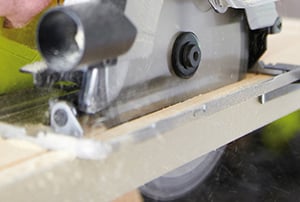
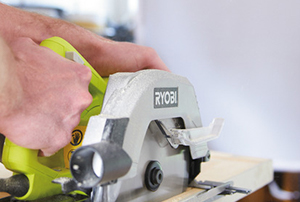
Your circular saw is probably one of the most impressive power tools in your workshop, so it’s worth knowing how to use it to its full potential. An electric circular saw is the perfect tool for making quick cuts in wooden boards for professional and DIY projects, however incorrectly using your saw can be dangerous. If you need to know how to safely cut with a circular saw, you’re in the right place.
This SGS how-to guide is designed to help you make simple cuts through timber in a quick, safe and accurate way. If you want to learn how to use a circular saw, this guide is a great place to start for the essentials. We’ve also included a couple of top tips and trade secrets so you can be a cut above the rest.
Looking to upgrade your tired, old circular saw? Check out our circular saw buying guide or view the entire range of circular saws here.
Staying Safe When Working with a Circular Saw
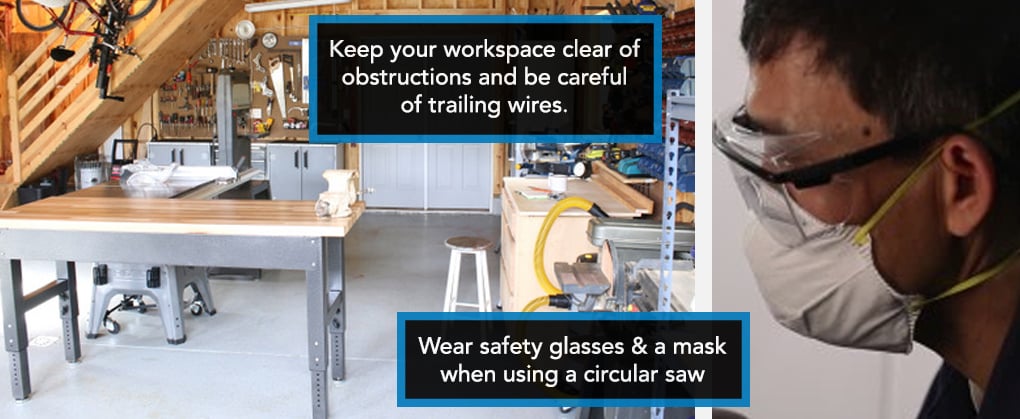
- If you’re using a corded saw, keep all cables and leads away from the cutting path.
- Never take your eye off where you’re cutting - that’s how you lose fingers.
- If you cut between two points of pressure, you’re likely to squeeze the blade during the cut (called binding), possibly causing kick back.
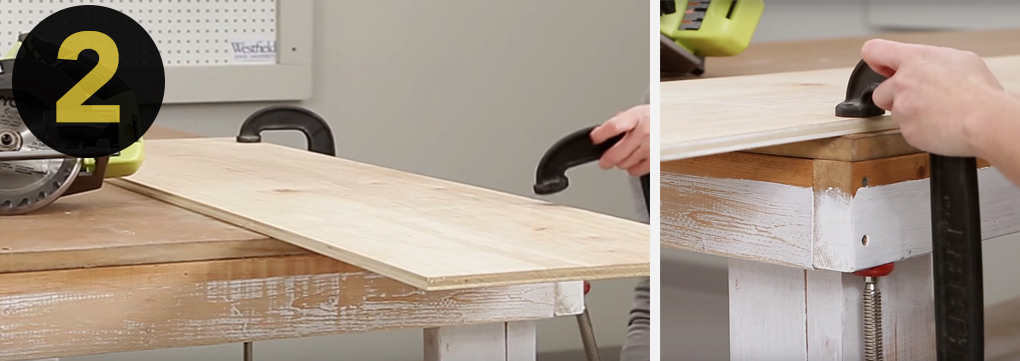
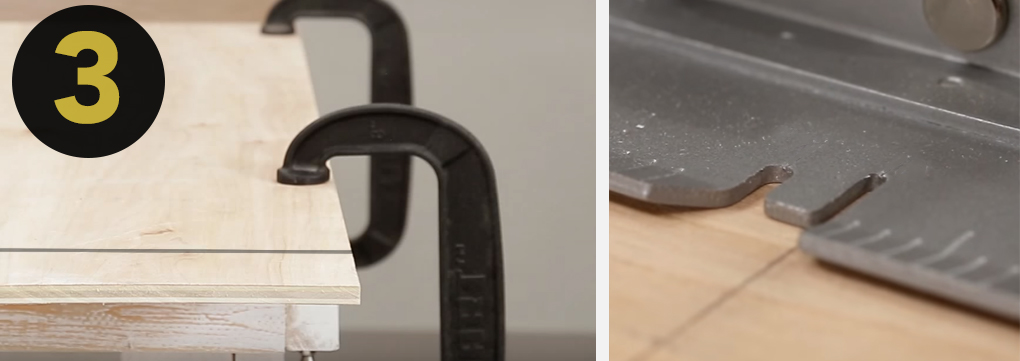
- Make sure your workpiece is supported properly when you're cutting. Use a work bench and clamps for smaller pieces, and an extension table or roller supports for larger pieces.
- Make sure the excess wood (waste side) is free to fall away after a cut, while your "keep side" stays firmly in place.
- Wear safety glasses and a dust mask.
- Your saw blade should be in good working condition and sharp before you attempt to cut anything.
- Most saws are designed for right handed people and therefore if you’re a leftie, you need to be extra vigilant against chips and saw dust. Waste material will normally be ejected to the left of the saw.
- Circular saws have a pretty impressive kickback when they first begin to cut. Watch the position of your body and stay slightly to one side of the tool.
- Don’t set your blade depth too deep. The saw blade should come 5-10mm past the depth of the wood you're cutting. The more exposed blade you have, the bigger the risk of your saw binding or kicking back.
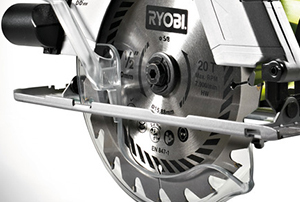
- Make sure the retracting guard blade is working correctly. With your saw unplugged (or with the battery out), test the guard can freely move back and forth (most blade guards will automatically spring back into the safety position when a cut is complete).
- Double check for nails or any other metals your saw might come into contact with. Nothing will damage your saw more, or create a stronger kickback, than a circular saw hitting something metal.
Get to Know Your Circular Saw
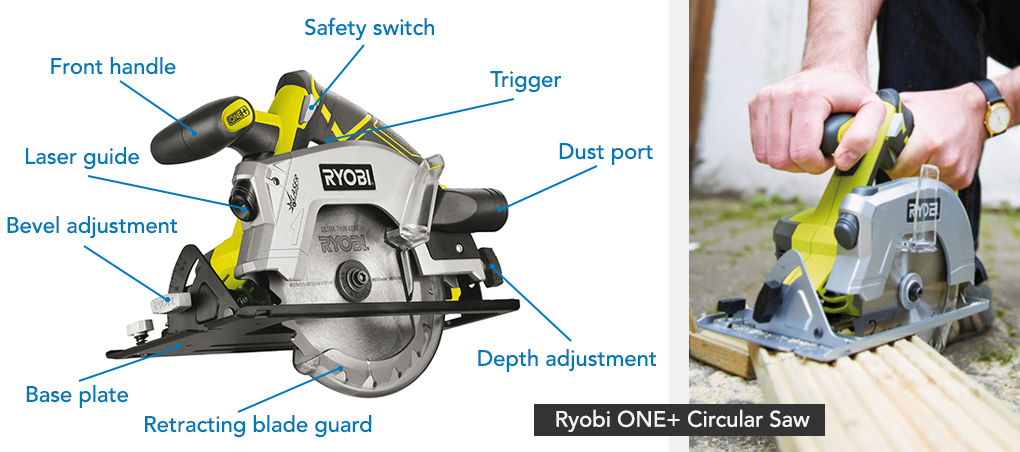
Before we get started with any cutting, it’s worth taking a good look at your circular saw and familiarising yourself with all the functions and feature. Not every circular saw is set out the same, but the diagram below should give you an idea where the various parts of a saw are. If in any doubt, check through your instruction manual.
Depth adjustment - This is normally a knob or a lever that can be used to move the base-plate / shoe. Always remember to tighten the depth adjustment lever or knob after you’ve set the depth of your cut.
Base-plate/ shoe - Allows you to set the depth of cut by exposing more or less of the blade.
Trigger - Unlike other power tools, a circular saw has only two speeds; on and off. As soon as the trigger clicks the motor is trying to bring the cutting blade to full speed. Always give the saw a few moments to reach top speed before you begin your cut.
Retracting blade guard - When not in use, the blade guard will cover the saw, keeping it safe. Typically, when you push a saw onto a piece of timber the blade guard will retract automatically. When you’ve finished a cut the blade guard should spring back into place. The blade guard is the most important safety feature of the tool because a circular saw takes time for the blade to come to a complete stop after a cut has been made. Check the blade guard is working correctly before even plugging it in.
Choosing a Circular Saw Blade
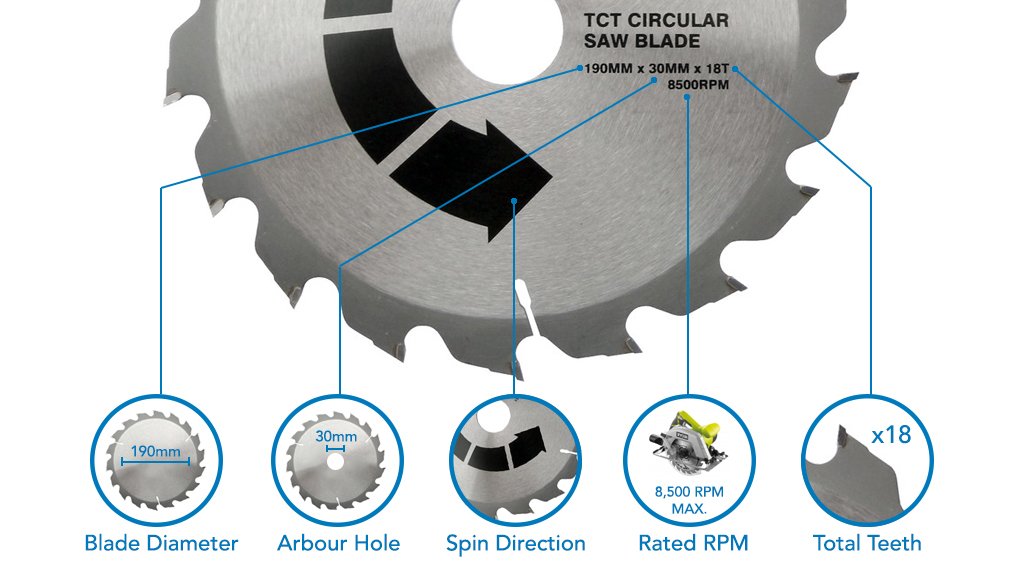
The first thing you need to do when purchasing a blade is make sure it’s suitable for your saw. There’s 3 basic things to check:
- The blade diameter your saw can handle. Handheld circular saws will normally take a blade anywhere between 110mm and 185mm in diameter.
- The arbour hole (centre hole) size you saw can take. Most arbour holes tend to me around 10-30mm, but can vary from brand to brand.
- Only purchase a saw blade that has a higher RPM rating than your circular saw can produce, so take note of your tool's RPM before starting to shop for a blade.
Now that you've noted down this information about your saw, you’re ready to choose a blade.
Types of blade:
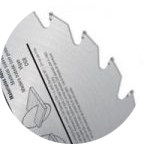
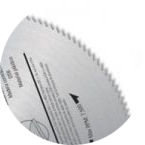
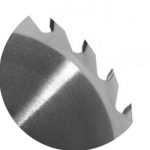
There’s a plethora of different circular saw blades available, and all of them are useful for slightly different applications. We’ve put together a list of the most common blade types and their uses to help you shop with confidence.
Blades with fewer teeth cut faster, however blades with more teeth give a finer finish. The saw’s "T" (or teeth) will indicate how many teeth the saw blade has. Just remember, the higher the "T", the finer the finish, and the slower the cut.
Cross-cut blades
CUse with wood or wood composites. Specifically for cutting against the grain of the wood (down the width of a board). These blades will have between 40 and 80 teeth and are designed to give you a nice, clean finish. You only need small gullets as less stock is removed.
Combination Blades
These are more generic wood cutting blades available with a huge array of teeth and can be used for either cross-cutting or rip-cutting. For every one tooth for ripping, there'll be four for cross-cutting, giving the blade a distinctive look.
Framing Blades
These blades have 24 teeth and are effective for rough carpentry. Choose one of these blades when speed is more important than a clean cut.
Plywood Blades
These blades have 100 or more very fine teeth and are designed for cutting without splintering the work piece.
Thin-kerf Blades
These blades have a narrow profile for faster cutting, less material wastage and lower power drain.
Hollow-ground Blades
These blades have a thinner body and fatter teeth, meaning wood is less likely to “pinch” or bind around the blade.
Continuous-rim Blades
These specialist blades are diamond-edged and are also known as diamond blades. They’re used for tiles and slate, rather than wood, and have an ultra-fine finish. These blades are normally specifically for wet or dry cutting (check the packaging).
Turbo-rim Blades
Another style of diamond rimmed blade, these specialist saw blades have a serrated rim for cutting materials such as brick and concrete. They’re more aggressive than continuous blades, but won’t leave you with a fine finish. Normally, dry cutting only.
Segmented blades
Another type of diamond blade, but with a rim divided into gullets. These are the most aggressive style of diamond blades and will cut quicker than other types. They leave a rough finish when cutting brick or concrete. Available in wet and dry cutting varieties.
Abrasive blades
These blades cut brick and concrete like a diamond blade, however they're made of aluminium oxide or silicon carbide. They don’t have any teeth and will give a medium fine finish but will typically be a lot slower than a diamond alternative.
Rip-cut blades
Use with wood or wood composites. Specifically for cutting with the grain of the wood (the length of a board). Typically these blades have 16 - 40 teeth and are designed to cut aggressively while removing waste stock with larger gullets.
To get the most out of your saw, you’ll need a couple of pieces of equipment. For a start, we recommend a good work table or bench for supporting your material. There’s other ways of brace wood for cutting, but a workbench is by far the simplest and most straight forward method.
What you’ll need
If you’re working with a corded circular saw, make sure you get yourself a good size extension cord that gives you enough room to move, and not so long that you’re tripping over it.
Basic safety equipment like a pair of safety glasses, dust mask and maybe even some ear defenders will all minimise the risk of injury while you work. And of course you’ll need some basic marking and measuring tools like a pencil, tape measure and a tri-square.
How to Safely Make a Cut With Your Circular Saw
The two main types of cuts you can do with a circular saw are called a cross-cut and a rip-cut. A cross-cut is a simple cut across the length of a piece of timber, against the grain. A rip-cut follows the length of the timber and goes with the grain. Rip-cuts are trickier and can take a little practice to get right.
The following method is ideal for both types of cut, however we suggest you try a few cross-cuts before moving on to a rip cut:
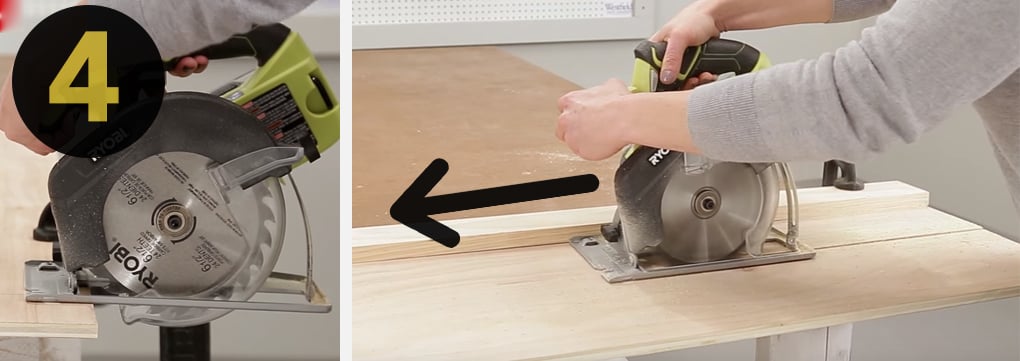
TOP TIP: For longer work pieces use a guide fence. This can be as simple as second piece of wood clamped to your workpiece. The aim of a saw fence is to give you a straight edge to keep at one side of the baseplate of the saw. Once you've done your measuring up, simply clamp your "fence" so it's flush against the circular saw's baseplate. Now when you make your cut you can use the fence as a guide (see picture below).
- Make sure the blade has completely stopped
- Make sure the blade has had a chance to cool down
- Make sure the tool is unplugged (or the battery is removed)
Top Circular Saw Tips and Tricks
So now you’ve seen how to make a simple cut, here’s a couple of extra trade secrets, tips and tricks to get you working like a pro in no time at all.
Your blade has a width
HSS blades are thinner than TCT blades, so if you’re ripping thinner pieces out of a wide board, you’ll make less waste with the thinner HSS blade. Remember if you cut a 100mm piece of timber in half, you won’t end up with two 50mm pieces - there's always going to be a few millimetres of waste.
Do a kiss test
When accuracy really counts, do a quick kiss test to make sure you’re all lined up. Line up as best as you can, start your saw and make a slight cut (or kiss) in the timber to see where the saw will actually cut. The idea is to make the shallowest possible cut to test how your actual cut is going to perform.
Making a mistake
Cutting straight lines every single time, takes a little practice. If you do make a mistake, don’t try and force the blade back on track. Let the saw stop spinning and then start again from the markings.
Cutting wet wood
If you’re cutting wet wood set the depth so that the entire gap between the teeth is clear of the board you’re cutting. This will stop your saw and cut line from getting clogged with wet saw dust.
Aim ahead
Once you’ve set up your circular saw against your markings, follow the line slightly ahead of the saw. You’ll naturally “follow-through” the cut and end up with a straighter line.
still need help?
Our in house experts are always on hand for buying advice and to provide bespoke care, regardless of the application.
Call SGS on 01332 576 850 or fill out our contact form today.

